
Everything you need before, during, and after your paint job
Whether you're getting ready for your first estimate, maintaining a finish we completed years ago, or tacking a DIY job, these guides walk you through each step. Browse the checklists and color guides below, view them right here on the page, or download a copy to keep.
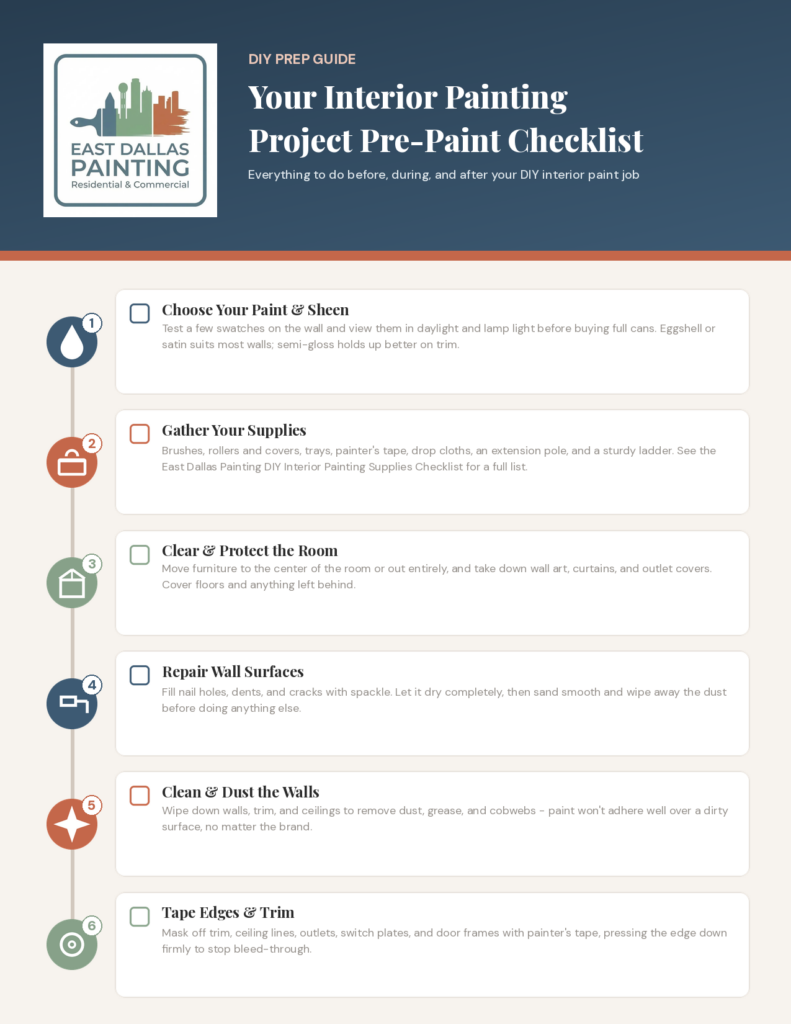
DIY Interior Project Pre-paint Checklist
Make sure your interior painting project goes smoothly by planning ahead. We provide a step-by-step plan to for success.
Everything to do before, during, and after your DIY interior paint job.
-
1
Choose Your Paint & Sheen
Eggshell or satin works well for most living spaces; semi-gloss holds up better in kitchens, bathrooms, and trim.
-
2
Clear & Cover the Room
Move furniture to the center of the room or out entirely, and cover everything remaining with plastic sheeting or drop cloths.
-
3
Remove Switch Plates & Hardware
Take down outlet covers, switch plates, and any wall-mounted hardware you don't want paint splatter on.
-
4
Clean the Walls
Wipe down walls with a damp cloth to remove dust and grease — paint won't adhere well to a dirty surface.
-
5
Patch Holes & Sand Smooth
Fill nail holes and dings with spackle, let it dry fully, then sand flush with the surrounding wall.
-
6
Tape Trim, Ceilings & Edges
Run painter's tape along baseboards, window trim, and ceiling lines for crisp, clean edges.
-
7
Prime Stains & Repairs
Water stains, repaired patches, and dark colors being painted over light should get a stain-blocking primer first.
-
8
Cut In the Edges
Brush a 2–3 inch border around trim, corners, and ceiling lines before rolling the larger wall area.
-
9
Roll the First Coat
Work in small sections, keeping a wet edge so roller marks don't show once the paint dries.
-
10
Apply a Second Coat
Let the first coat dry fully per the label — typically 2–4 hours — before recoating for full, even coverage.
-
11
Pull Tape While Paint Is Still Fresh
Remove painter's tape at a 45-degree angle before the paint fully cures to avoid peeling the finish along with it.
-
12
Reassemble & Clean Up
Reinstall switch plates and hardware once the paint is dry to the touch, and wash brushes and rollers right away.
East Dallas Painting offers free, no-obligation quotes for interior projects.
Call 214-612-6235 or visit eastdallaspainting.com to get started.
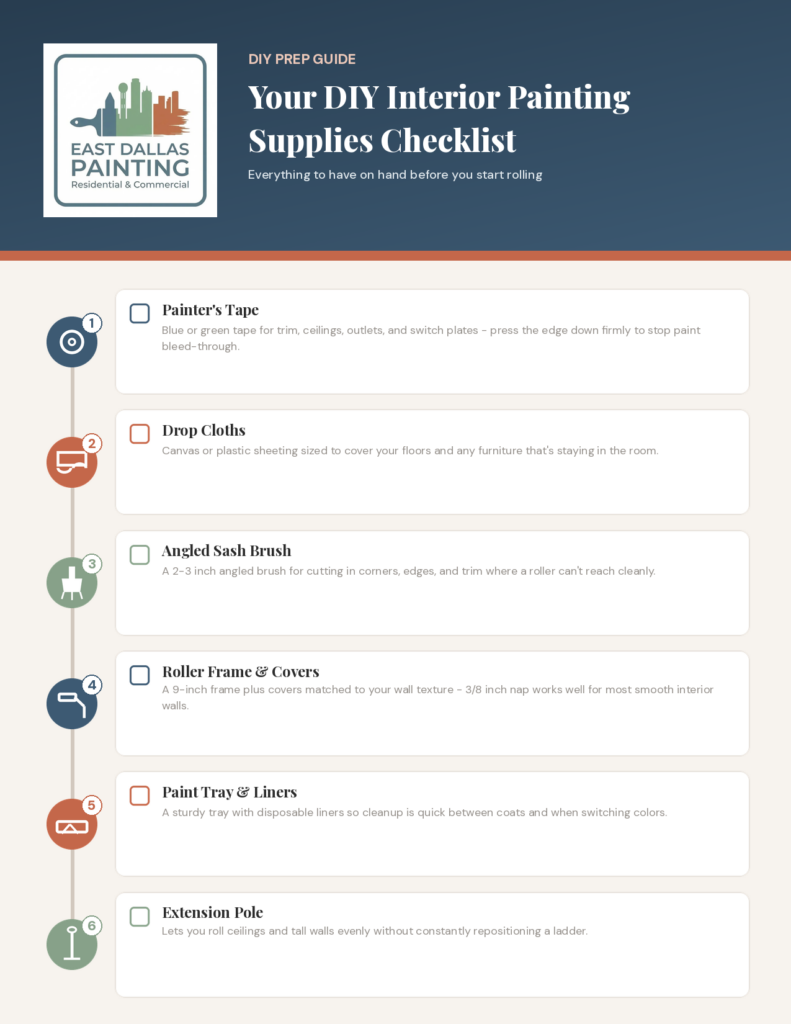
DIY Interior Painting Supplies Checklist
Comprehensive list of everything you need to make sure your DIY interior painting project goes off without a hitch.
Everything you need to gather before your DIY interior paint job.
-
1
Interior Paint
Eggshell or satin for living areas and bedrooms; semi-gloss or high-gloss for trim, doors, and high-moisture rooms.
-
2
Stain-Blocking Primer
Essential for water stains, repaired drywall, or covering a dark color with a lighter one.
-
3
Angled Sash Brush
A 2–2.5 inch angled brush makes cutting in along trim and ceilings far easier and cleaner.
-
4
Rollers & Roller Covers
3/8 inch nap for smooth walls, 1/2 inch nap for lightly textured surfaces like orange peel.
-
5
Painter's Tape
A quality low-tack tape gives sharp edges along trim and ceiling lines without pulling up existing paint.
-
6
Drop Cloths
Canvas cloths stay put better than plastic and won't create a slipping hazard on hard flooring.
-
7
Spackle & Putty Knife
For filling nail holes, dings, and small drywall repairs before you prime and paint.
-
8
Sandpaper
Fine-grit (150–220) for smoothing patched areas flush with the surrounding wall.
-
9
Paint Tray & Liners
Disposable liners save cleanup time between coats and colors.
-
10
Step Ladder
A sturdy 4–6 foot step ladder for reaching ceilings and the tops of walls safely.
East Dallas Painting offers free, no-obligation quotes for interior projects.
Call 214-612-6235 or visit eastdallaspainting.com to get started.
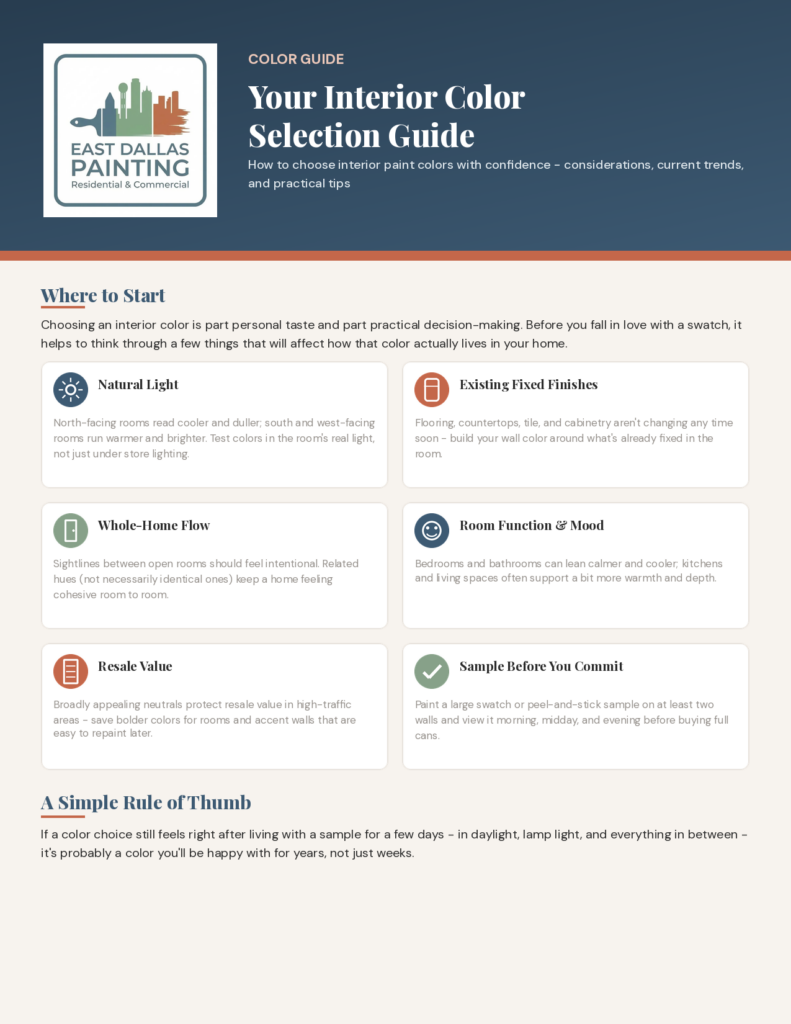
What's Hot - Interior Paint Color Guide
Get the local hot or not trends on interior paint colors in Dallas. We've done the work for you to make sure you are happy with the result.
How to choose interior paint colors with confidence — considerations, current trends, and practical tips.
Where to start
Choosing an interior color is part personal taste and part practical decision-making. Before you fall in love with a swatch, it helps to think through a few things that will affect how that color actually lives in your home: natural light (north-facing rooms read cooler and duller; south- and west-facing rooms run warmer and brighter), existing fixed finishes like flooring, countertops, and cabinetry, whole-home flow between open rooms, and how the color supports the mood of each room's function.
A simple rule of thumb: if a color choice still feels right after living with a sample for a few days — in daylight, lamp light, and everything in between — it's probably a color you'll be happy with for years, not just weeks.
Trending now
Curated Sherwin-Williams palettes shaping interiors in 2026 — a mix of the year's Color of the Year and the shades our clients keep asking for.
Warm Minimalism — anchored by the 2026 Color of the Year: an easygoing warm neutral paired with a creamy white and a whisper-soft accent for living and dining spaces.
Universal Khaki
SW 6150
Alabaster
SW 7008
Cream and Sugar
SW 9507
Quiet Greens — muted greens are replacing the last decade of gray: a soft green-gray for calm bathrooms and bedrooms, and a deep forest tone for a statement kitchen island.
Sea Salt
SW 6204
Evergreen Fog
SW 9130
Pewter Green
SW 6208
Soft Pastels — airy, high-LRV pastels for bedrooms and bathrooms: a gentle way to bring in color without losing light in a north-facing room.
Grape Mist
SW 6548
Pearly White
SW 7009
Earthy & Bold — complementary earthy pairings for an accent wall or entry: a warm neutral grounded by a deep green or red-brown for a curated, not trendy, look.
Neutral Ground
SW 7568
Secret Garden
SW 6181
Cordovan
SW 6027
Choosing the right sheen
| Area | Recommended sheen |
|---|---|
| Ceilings | Flat or matte — hides surface imperfections and minimizes glare. |
| Living Areas & Bedrooms | Eggshell or satin — a soft look that's still easy to wipe clean. |
| Kitchens & Bathrooms | Satin or semi-gloss — stands up to moisture, steam, and scrubbing. |
| Trim & Doors | Semi-gloss — durable and makes detail work pop against wall color. |
| Cabinets | Semi-gloss or satin — durable, wipeable, and easy to keep looking new. |
One more thing worth knowing: undertones shift with light. The same swatch can read warmer in the morning and cooler by evening, which is exactly why testing a sample in your own space matters more than the paint chip ever will.
A few more tips
- Follow a rough 60-30-10 split: a dominant wall color, a secondary color for furniture or accent walls, and a pop color for accessories.
- Ceilings don't have to be plain white — a soft tint of your wall color (or a true white with a warmer undertone) can make a room feel taller and more finished.
- When torn between two shades, go one step lighter. Colors read darker on full walls than they do on a small chip.
- Keep a record of exact colors, sheens, and brands used in each room so future touch-ups and repaints match perfectly.
East Dallas Painting offers color consultation as part of every interior quote.
Call 214-612-6235 or visit eastdallaspainting.com.
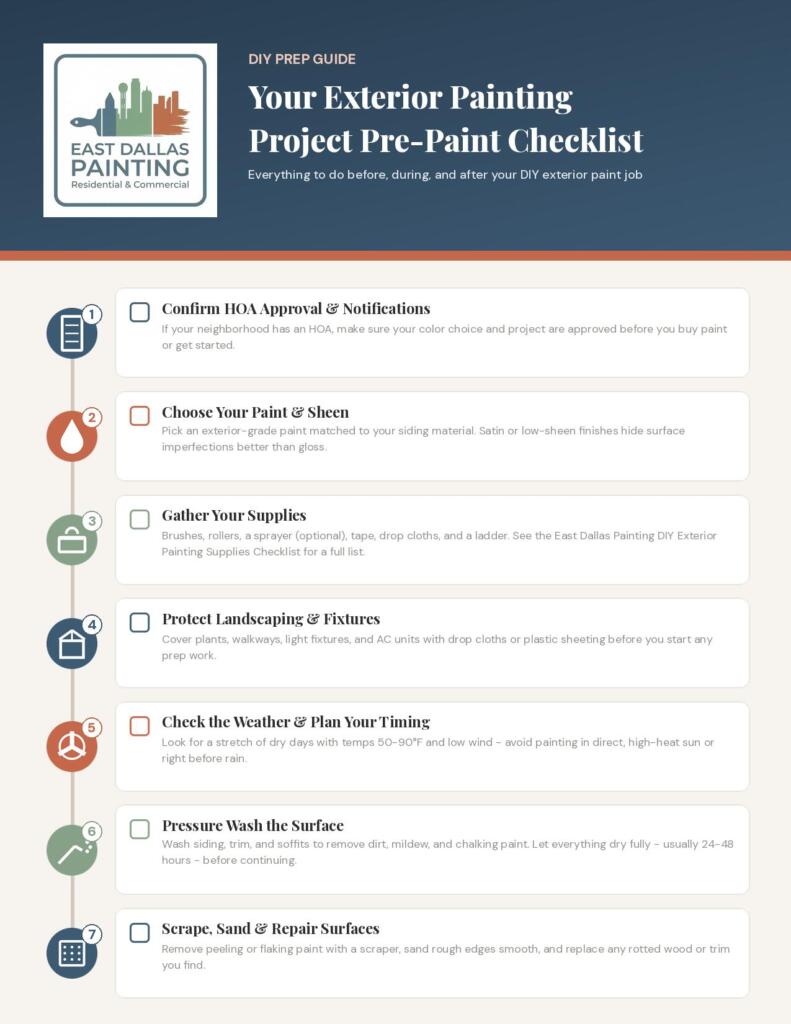
DIY Exterior Project Pre-paint Checklist
Make sure your exterior painting project goes smoothly by planning ahead. We provide a step-by-step plan to for success.
- 1
Confirm HOA Approval & Notifications
If your neighborhood has an HOA, make sure your color choice and project are approved before you buy paint or get started.
- 2
Choose Your Paint & Sheen
Pick an exterior-grade paint matched to your siding material. Satin or low-sheen finishes hide surface imperfections better than gloss.
- 3
Gather Your Supplies
Brushes, rollers, a sprayer (optional), tape, drop cloths, and a ladder. See the East Dallas Painting DIY Exterior Painting Supplies Checklist for a full list.
- 4
Protect Landscaping & Fixtures
Cover plants, walkways, light fixtures, and AC units with drop cloths or plastic sheeting before you start any prep work.
- 5
Check the Weather & Plan Your Timing
Look for a stretch of dry days with temps 50–90°F and low wind — avoid painting in direct, high-heat sun or right before rain.
- 6
Pressure Wash the Surface
Wash siding, trim, and soffits to remove dirt, mildew, and chalking paint. Let everything dry fully — usually 24–48 hours — before continuing.
- 7
Scrape, Sand & Repair Surfaces
Remove peeling or flaking paint with a scraper, sand rough edges smooth, and replace any rotted wood or trim you find.
- 8
Caulk Gaps & Joints
Seal joints around windows, doors, and trim with exterior-grade caulk to block moisture and give a cleaner finished look.
- 9
Prime Bare Wood & Patches
Bare wood, fresh repairs, and stains need a coat of exterior primer first for even color and better paint adhesion.
- 10
Tape & Mask Windows, Trim & Fixtures
Mask window panes, light fixtures, and anything you're not painting with exterior-grade painter's tape.
- 11
Cut In & Apply the First Coat
Brush the edges and detail work first, then roll or spray the larger surfaces, keeping a wet edge as you move along the wall.
- 12
Apply a Second Coat
Let the first coat dry fully per the label — exterior coats often need longer than interior ones — then recoat for full, even coverage.
- 13
Clean Your Tools & Workspace
Wash brushes, rollers, and sprayer parts right away, reseal cans tightly, and store leftover paint out of temperature extremes.
- 14
Final Walkthrough & Proper Disposal
Pull tape before the paint fully cures and check the exterior in daylight for missed spots. Let empty cans dry out before trash day and follow your city's disposal rules.
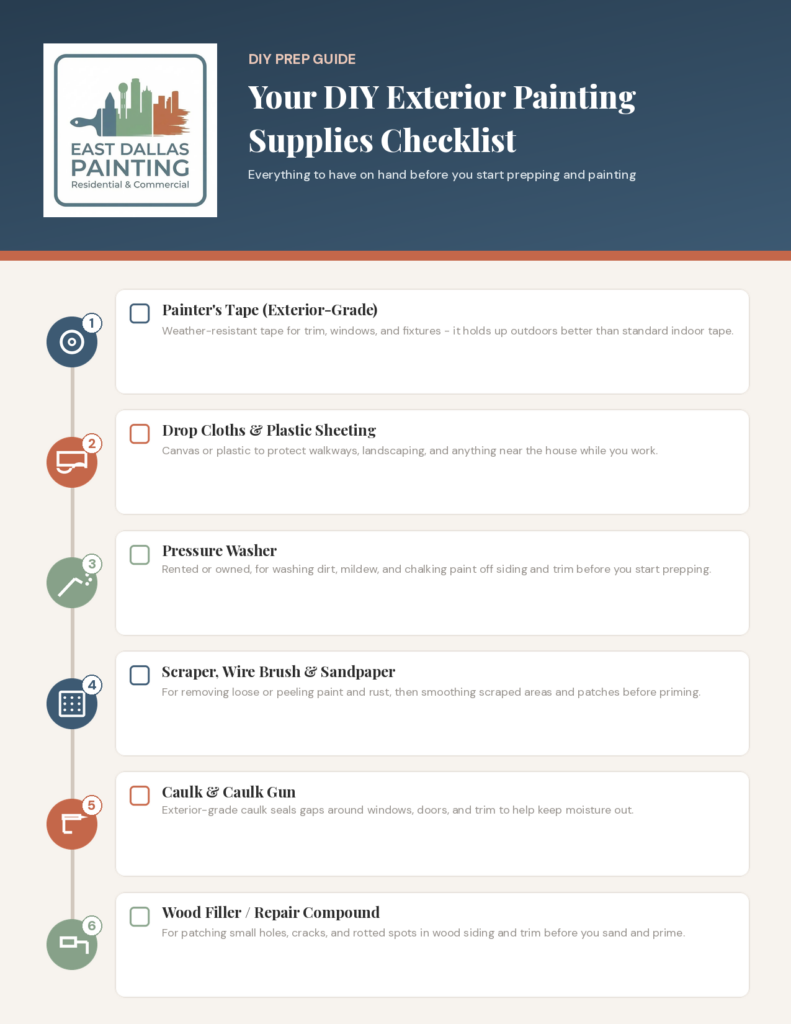
DIY Exterior Painting Supplies Checklist
Comprehensive list of everything you need to make sure your DIY exterior painting project goes off without a hitch.
Everything you need to gather before your DIY exterior paint job.
-
1
Exterior-Grade Paint
Buy enough for two full coats — measure your total wall square footage first so you don't run short mid-job.
-
2
Exterior Primer
Needed for bare wood, patched areas, and stains — don't skip this even if you're using a paint-and-primer-in-one product.
-
3
Brushes & Rollers
A 2–3 inch angled brush for cutting in, plus rollers rated for exterior texture (3/4 inch nap for stucco or siding).
-
4
Paint Sprayer (Optional)
Speeds up large, flat surfaces significantly, but still requires back-brushing or back-rolling for proper adhesion.
-
5
Pressure Washer
Rent one if you don't own one — removes dirt, mildew, and chalking paint that would otherwise ruin adhesion.
-
6
Scrapers & Sandpaper
A 3-inch stiff putty scraper for peeling paint, plus 80–120 grit sandpaper for smoothing rough edges.
-
7
Exterior-Grade Caulk
Paintable, siliconized acrylic caulk for sealing gaps around windows, doors, and trim before priming.
-
8
Painter's Tape
Use an exterior-rated tape — standard indoor tape can fail in heat and humidity, leaving bleed-through.
-
9
Drop Cloths & Plastic Sheeting
Canvas drop cloths for walkways and patios; plastic sheeting for landscaping, AC units, and light fixtures.
-
10
Ladder & Extension Pole
A sturdy extension ladder rated for your home's height, plus an extension pole for rolling second-story walls safely from the ground.
-
11
Safety Gear
Safety glasses and a dust mask for scraping and sanding, plus work gloves for handling caulk and solvents.
-
12
5-Gallon Buckets & Screens
Box (mix) all your paint cans together in one batch to avoid visible color variation between cans, called "lot" differences.
East Dallas Painting offers free, no-obligation quotes for exterior projects.
Call 214-612-6235 or visit eastdallaspainting.com to get started.
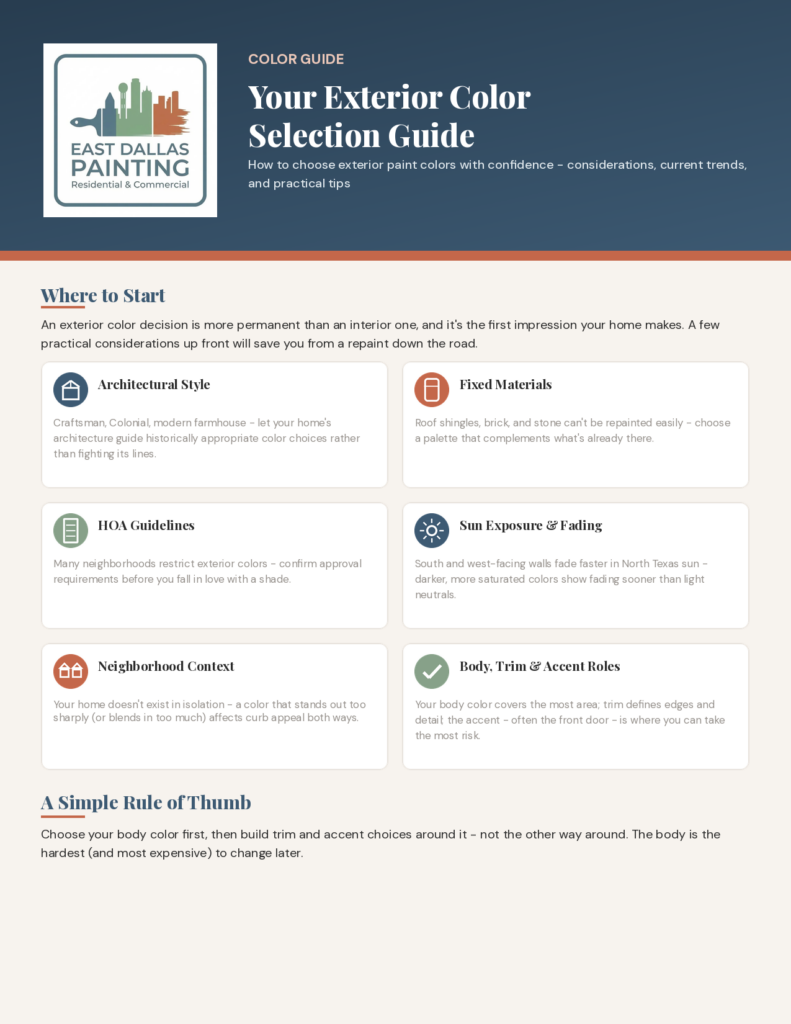
What's Hot - Exterior Paint Color Guide
Get the local hot or not trends on interior paint colors in Dallas. We've done the work for you to make sure you are happy with the result.
How to choose exterior paint colors with confidence — considerations, current trends, and practical tips.
Where to start
An exterior color decision is more permanent than an interior one, and it's the first impression your home makes. A few practical considerations up front will save you from a repaint down the road: your home's architectural style, any fixed materials like roof shingles, brick, or stone that can't be easily repainted, HOA guidelines that may restrict color choices, and how much sun exposure your walls get, since south- and west-facing walls fade faster in North Texas sun.
A simple rule of thumb: choose your body color first, then build trim and accent choices around it — not the other way around. The body is the hardest, and most expensive, to change later.
Trending now
Curated Sherwin-Williams palettes shaping exteriors in 2026 — warmer neutrals are replacing the cool-gray wave of the last decade.
The New Neutral — 2026's biggest exterior shift: a warm, creamy body color replacing stark white and cool gray, pairing naturally with brick, stone, and wood.
Universal Khaki
SW 6150
Pure White
SW 7005
Alabaster
SW 7008
Modern Farmhouse 2.0 — a softer take on the black-and-white farmhouse look: creamy warm white in place of stark white, still anchored by a near-black accent.
Shoji White
SW 7042
Iron Ore
SW 7069
Moody Cottage — dark exteriors are still trending, but used with more restraint: a sophisticated brownish-gray body balanced by warm, creamy trim.
Urbane Bronze
SW 7048
Shoji White
SW 7042
Earthy Accent — a clay and terracotta accent color for a front door or architectural feature, grounding against almost any neutral body color.
Redend Point
SW 9081
Alabaster
SW 7008
Body, trim & accent roles
| Element | Role |
|---|---|
| Siding / Body | The largest surface area — usually the safest, most neutral choice of the three. |
| Trim & Fascia | Defines architectural lines — often a lighter or crisper shade than the body. |
| Front Door | The lowest-risk place for a bold or saturated accent color. |
| Shutters & Accents | Can match the door or introduce a complementary third tone. |
Choosing the right sheen
| Element | Recommended sheen |
|---|---|
| Siding / Body | Flat or satin — hides surface imperfections better than higher sheens. |
| Trim | Satin or semi-gloss — a bit more durable and defined against the body. |
| Front Door | Semi-gloss or gloss — a durable, statement-making finish. |
Test your top picks as large sample boards on the actual house, not just a paint chip — exterior light shifts color perception more than indoor light. View samples at different times of day, since direct Texas sun can wash out a color that looked rich on the store swatch. If your neighborhood has an HOA, confirm color approval before buying paint, not after.
A note on paint quality: the color you choose only tells half the story — the paint line behind it matters just as much. Premium exterior lines with self-cleaning and UV-resistant formulas can stretch a repaint cycle from every 4–6 years to 8–12, which matters even more for darker, more saturated color choices that show fading first.
East Dallas Painting offers color consultation as part of every exterior quote.
Call 214-612-6235 or visit eastdallaspainting.com.
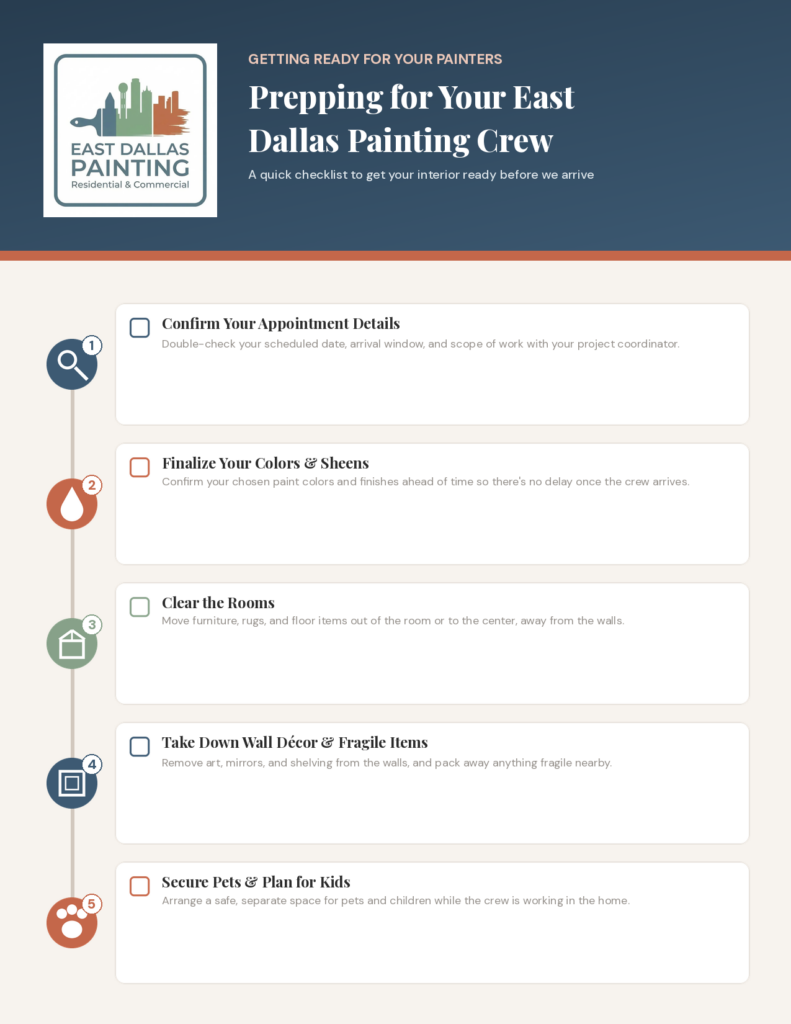
Getting your interior ready for our painting crew
Ensuring that the exterior areas around the painting project are ready for us makes for a smooth and on-time project.
A quick checklist to get your interior ready before we arrive.
-
1
Confirm Your Appointment Details
Double-check your scheduled date, arrival window, and scope of work with your project coordinator.
-
2
Finalize Your Colors & Sheens
Confirm your chosen paint colors and finishes ahead of time so there's no delay once the crew arrives.
-
3
Clear the Rooms
Move furniture, rugs, and floor items out of the room or to the center, away from the walls.
-
4
Take Down Wall Décor & Fragile Items
Remove art, mirrors, and shelving from the walls, and pack away anything fragile nearby.
-
5
Secure Pets & Plan for Kids
Arrange a safe, separate space for pets and children while the crew is working in the home.
-
6
Clear Access Paths & Parking
Make sure the crew has a clear path to the work area and space to park near the house.
-
7
Protect Valuables & Electronics
Cover or relocate anything sensitive to dust — electronics, artwork, and heirlooms are worth extra care.
-
8
Set the Temperature & Ventilation
Keep the home comfortably cool and ventilated so paint dries evenly and odors clear faster.
-
9
Be Available for the Final Walkthrough
Plan to walk through the finished rooms with the crew so any touch-ups can be handled on the spot.
Call our team any time before your appointment — we're happy to help.
Call 214-612-6235 or visit eastdallaspainting.com.
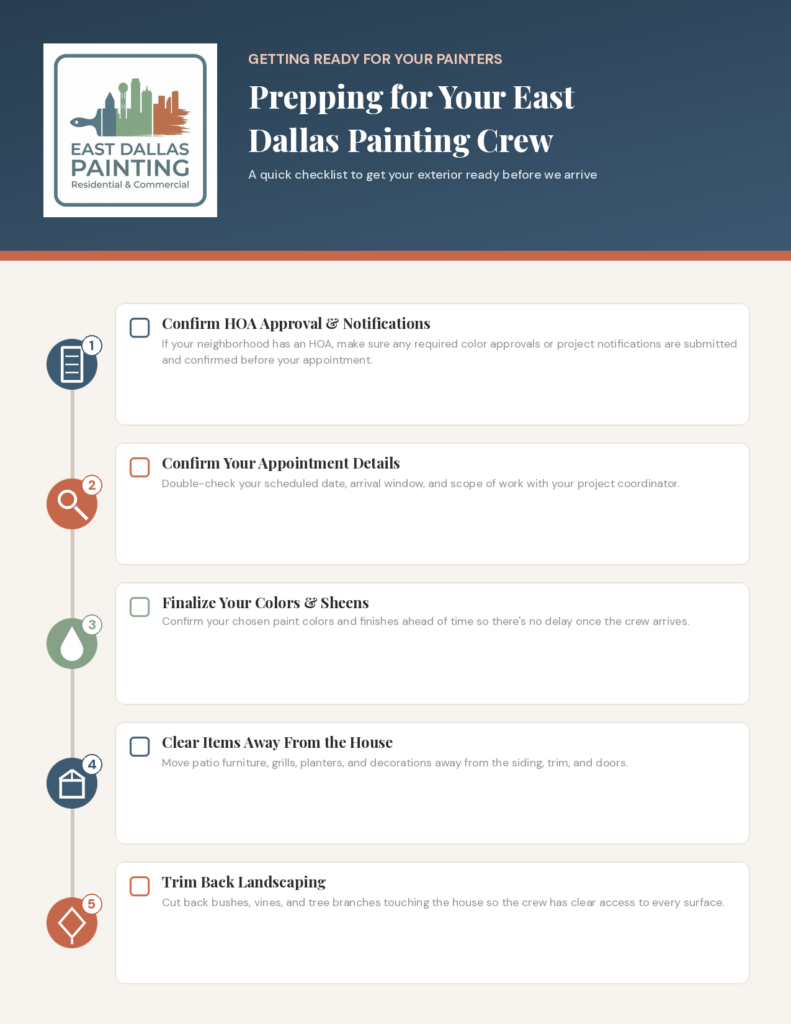
Getting your exterior ready for your our painting crew
Ensuring that the exterior areas around the painting project are ready for us makes for a smooth and on-time project.
A quick checklist to get your exterior ready before we arrive.
-
1
Confirm HOA Approval & Notifications
If your neighborhood has an HOA, make sure any required color approvals or project notifications are submitted and confirmed before your appointment.
-
2
Confirm Your Appointment Details
Double-check your scheduled date, arrival window, and scope of work with your project coordinator.
-
3
Finalize Your Colors & Sheens
Confirm your chosen paint colors and finishes ahead of time so there's no delay once the crew arrives.
-
4
Clear Items Away From the House
Move patio furniture, grills, planters, and decorations away from the siding, trim, and doors.
-
5
Trim Back Landscaping
Cut back bushes, vines, and tree branches touching the house so the crew has clear access to every surface.
-
6
Secure Pets & Clear Play Areas
Keep pets inside or in a fenced area away from the work zone, and clear toys or play equipment nearby.
-
7
Clear Driveways & Access Points
Move vehicles out of the driveway and make sure gates and side-yard access are unlocked and clear.
-
8
Let Your Neighbors Know
A quick heads-up about trucks, ladders, and noise goes a long way — especially if we'll need access to a shared driveway or fence line.
-
9
Provide Access to Water & Power
Make sure an exterior outlet and hose bib are accessible for pressure washing and equipment.
-
10
Be Available for the Final Walkthrough
Plan to walk the exterior with the crew once work is complete so any touch-ups can be handled on the spot.
Call our team any time before your appointment — we're happy to help.
Call 214-612-6235 or visit eastdallaspainting.com.
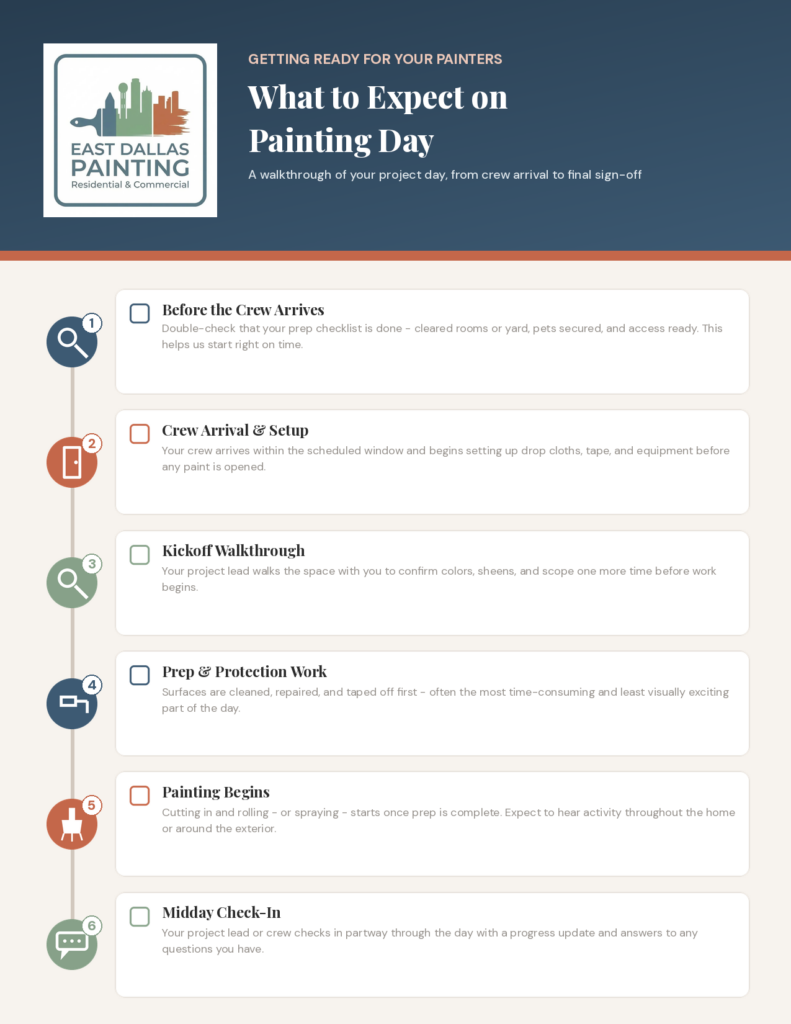
What to expect on painting day
This guide describes our overall project process - from when our crews arrive, to the painting process throughout, to the walkthroughs, & checkpoints, to the final clean up.
A walkthrough of your project day, from crew arrival to final sign-off.
-
1
Before the Crew Arrives
Double-check that your prep checklist is done — cleared rooms or yard, pets secured, and access ready. This helps us start right on time.
-
2
Crew Arrival & Setup
Your crew arrives within the scheduled window and begins setting up drop cloths, tape, and equipment before any paint is opened.
-
3
Kickoff Walkthrough
Your project lead walks the space with you to confirm colors, sheens, and scope one more time before work begins.
-
4
Prep & Protection Work
Surfaces are cleaned, repaired, and taped off first — often the most time-consuming and least visually exciting part of the day.
-
5
Painting Begins
Cutting in and rolling — or spraying — starts once prep is complete. Expect to hear activity throughout the home or around the exterior.
-
6
Midday Check-In
Your project lead or crew checks in partway through the day with a progress update and answers to any questions you have.
-
7
Cleanup Between Coats
Tools are cleaned and surfaces re-protected between coats — a tidy job site is part of how we work, start to finish.
-
8
Final Coat & Detail Work
The final coat goes on, followed by detail work on trim, edges, and any small touch-ups the crew catches along the way.
-
9
End-of-Day Walkthrough
Before the crew leaves, we walk the finished space with you, point out anything still drying, and confirm you're happy with the work.
-
10
Site Cleanup
Drop cloths, tape, and debris are cleared away, and the space is left as clean — or cleaner — than we found it.
-
11
Multi-Day Projects
For larger jobs, we'll let you know exactly what to expect overnight and each following morning until the project is complete.
-
12
Your Final Walkthrough & Sign-Off
Once everything is complete, we walk through the finished project together to confirm the work meets your expectations.
Call or text your project lead any time during your job.
Call 214-612-6235 or visit eastdallaspainting.com.
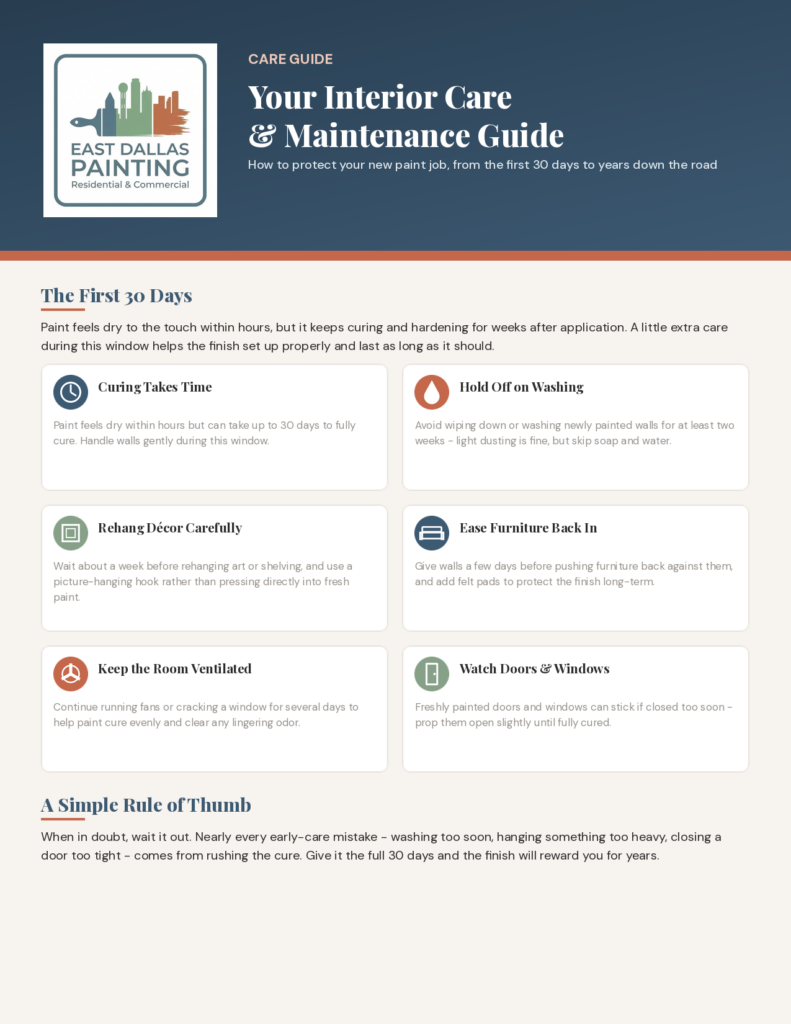
Interior paint care guide
Following a set of simple steps will ensure that your interior paint stays beautiful for many years.
How to protect your new paint job, from the first 30 days to years down the road.
-
1
Curing Takes Time
Paint feels dry within hours but can take up to 30 days to fully cure. Handle walls gently during this window.
-
2
Hold Off on Washing
Avoid wiping down or washing newly painted walls for at least two weeks — light dusting is fine, but skip soap and water.
-
3
Rehang Décor Carefully
Wait about a week before rehanging art or shelving, and use a picture-hanging hook rather than pressing directly into fresh paint.
-
4
Ease Furniture Back In
Give walls a few days before pushing furniture back against them, and add felt pads to protect the finish long-term.
-
5
Keep the Room Ventilated
Continue running fans or cracking a window for several days to help paint cure evenly and clear any lingering odor.
-
6
Watch Doors & Windows
Freshly painted doors and windows can stick if closed too soon — prop them open slightly until fully cured.
Cleaning by sheen
| Sheen | How to clean it |
|---|---|
| Flat / Matte | Dust or dry-sponge only — avoid scrubbing, which can burnish or remove the finish. |
| Eggshell / Satin | A soft cloth with mild soap and water handles most marks without damaging the sheen. |
| Semi-Gloss (Trim/Cabinets) | Wipes clean easily — safe for a slightly firmer scrub on stubborn marks. |
| High-Traffic Walls | Spot clean promptly — the longer a mark sits, the harder it is to remove without a touch-up. |
Normal wear vs. when to call us
| What you're seeing | What it means |
|---|---|
| Minor scuffs or nail holes | Normal — an easy touch-up handles it. |
| Slight fading over years | Normal — happens gradually with sun exposure. |
| Peeling or bubbling paint | Call us — often signals a moisture or adhesion issue. |
| Cracking or alligatoring | Call us — may point to a surface prep issue underneath. |
| Stains bleeding through | Call us — may need a stain-blocking primer to resolve. |
We stand behind our work — reach out any time about touch-ups or warranty questions.
Call 214-612-6235 or visit eastdallaspainting.com.
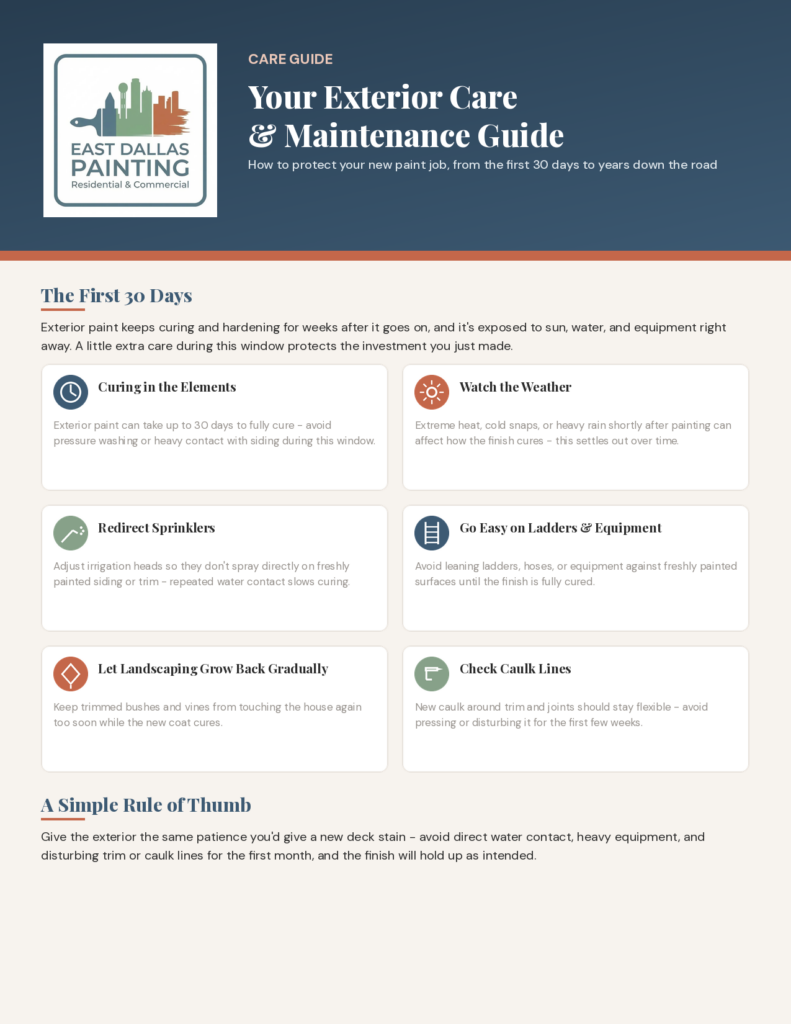
Exterior painting project care guide
Following a set of simple steps will ensure that your exterior paint stays beautiful for many years.
How to protect your new paint job, from the first 30 days to years down the road.
-
1
Curing in the Elements
Exterior paint can take up to 30 days to fully cure — avoid pressure washing or heavy contact with siding during this window.
-
2
Watch the Weather
Extreme heat, cold snaps, or heavy rain shortly after painting can affect how the finish cures — this settles out over time.
-
3
Redirect Sprinklers
Adjust irrigation heads so they don't spray directly on freshly painted siding or trim — repeated water contact slows curing.
-
4
Go Easy on Ladders & Equipment
Avoid leaning ladders, hoses, or equipment against freshly painted surfaces until the finish is fully cured.
-
5
Let Landscaping Grow Back Gradually
Keep trimmed bushes and vines from touching the house again too soon while the new coat cures.
-
6
Check Caulk Lines
New caulk around trim and joints should stay flexible — avoid pressing or disturbing it for the first few weeks.
Ongoing care by area
| Area | What to do |
|---|---|
| Siding | A gentle hose rinse once or twice a year removes dust and pollen; save pressure washing for every few years, at low PSI. |
| Trim & Fascia | Check yearly for peeling or cracking, especially near rooflines and gutters where runoff concentrates. |
| Front Door | Wipe down periodically — it takes the most direct sun and handling, so expect to refresh it sooner than the rest of the house. |
| Caulk & Seals | Inspect annually around windows, doors, and trim; re-caulk as soon as gaps appear to keep moisture out. |
Normal wear vs. when to call us
| What you're seeing | What it means |
|---|---|
| Gradual fading over years | Normal — expected, especially on sun-facing walls. |
| Light dirt or pollen buildup | Normal — a rinse usually handles it. |
| Peeling, bubbling, or cracking | Call us — often signals moisture behind the surface. |
| Wood rot or soft trim spots | Call us — needs repair before repainting. |
| Caulk pulling from joints | Recaulk promptly or call us — gaps let moisture in. |
We stand behind our work — reach out any time about touch-ups or warranty questions.
Call 214-612-6235 or visit eastdallaspainting.com.
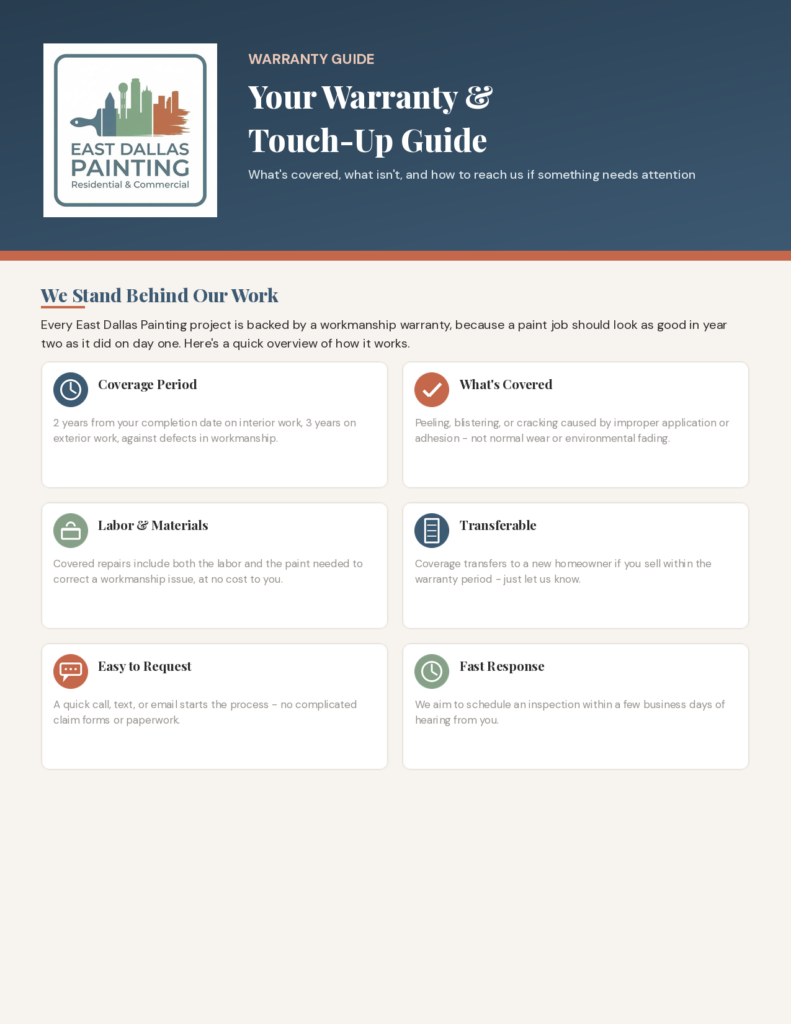
Warranty and touch-up guide
We stand behind our work and want to make sure you get long-term enjoyment out of the results.
What's covered, what isn't, and how to reach us if something needs attention.
Every East Dallas Painting project is backed by a workmanship warranty, because a paint job should look as good in year two as it did on day one.
| Service | Coverage period |
|---|---|
| Interior Painting | 2 years from your completion date |
| Exterior Painting | 3 years from your completion date |
| Fence & Deck Staining | 2 years from your completion date |
Coverage is transferable to a new homeowner if you sell within the warranty period — just let us know.
What's covered
| Issue | Coverage |
|---|---|
| Peeling or blistering | Covered when caused by an application or adhesion error. |
| Cracking of the finish | Covered when it results from a workmanship issue. |
| Visible application marks | Covered — brush or roller marks from the original job. |
| Uneven coverage | Covered — thin spots or inconsistent color from the original coats. |
What's not covered
| Issue | Why |
|---|---|
| Normal fading from sun/UV | Expected over time, especially on sun-facing surfaces. |
| Moisture or structural issues | Leaks, humidity, or building movement unrelated to paint application. |
| Damage after painting | Scuffs, nail holes, or dents caused by everyday use. |
| Surfaces we didn't paint | Work performed by others isn't covered under our warranty. |
| Extreme weather events | Hail, storm damage, or similar events fall outside workmanship coverage. |
How to request a touch-up
-
1
Reach out
Call, text, or email your project contact with your name, address, and a description of the concern — photos help.
-
2
We schedule an inspection
Usually within a few business days, to confirm the issue and scope of the fix.
-
3
We schedule the repair
Most warranty touch-ups are completed in a single visit.
-
4
We follow up
To make sure you're fully satisfied with the result.
We stand behind our work — warranty service is quick and easy for covered issues.
Call 214-612-6235 or visit eastdallaspainting.com.